navigation-tabs
Creating a Simple Navigation Tab Menu with CSS and JavaScript
In this tutorial, I will demonstrate how to use CSS and JavaScript together to create a simple navigation tab menu. This type of menu is perfect for providing quick navigation within user interfaces, enhancing the interactivity and user experience of websites.
First, check out the demo.
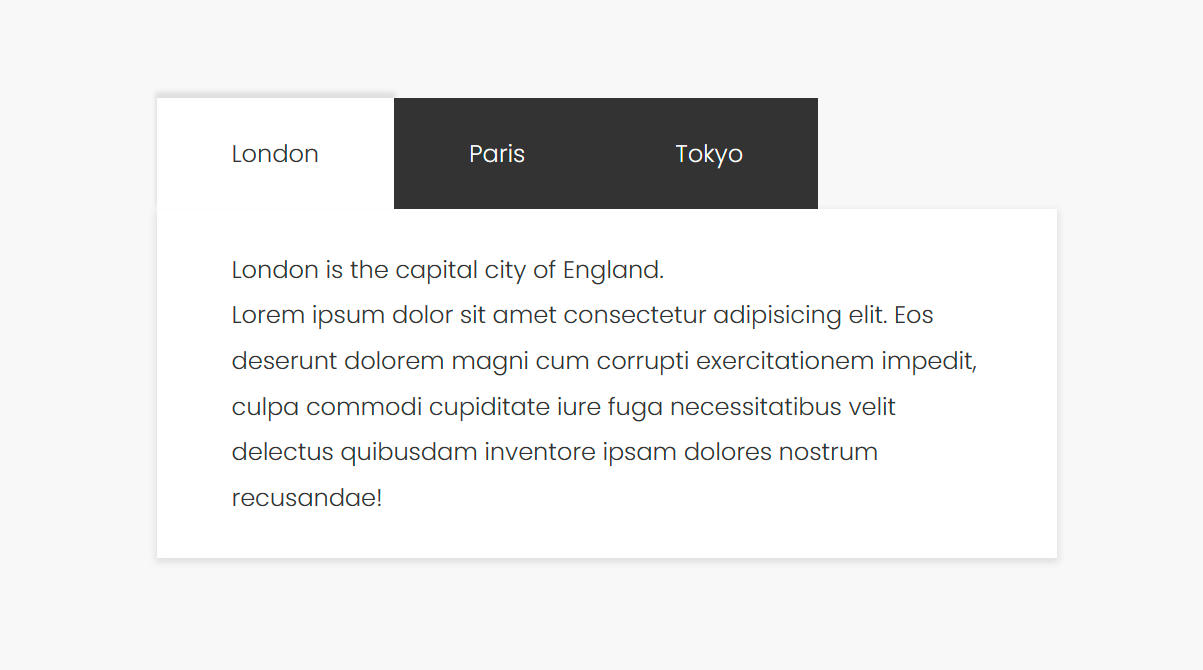
Let’s get started!
HTML Structure
Our HTML structure consists of two basic parts: nav for the tab buttons and section for the content corresponding to each tab. Note that in this example, the order of tabs and content is crucial; they need to be arranged in the same order to ensure the correct tab displays its corresponding content.
<nav>
    <div class="selected">London</div>
    <div>Paris</div>
    <div>Tokyo</div>
</nav>
<section>
    <div class="selected">
        <p>London is the capital city of England.</p>
    </div>
    <div>
        <p>Paris is the capital of France.</p>
    </div>
    <div>
        <p>Tokyo is the capital of Japan.</p>
    </div>
</section>
CSS
With CSS, we set it up so that all tab contents are hidden by default, and only the selected tab and its content are displayed. With the .selected class style changes, you can customize the appearance of the selected tab and content as you wish.
/* Default navigation tab style */
nav > div {
    color: #fff;
    background-color: #333;
    cursor: pointer;
}
/* Selected navigation tab style */
nav > div.selected {
    color: #333;
    background-color: #fff;
    cursor: default;
}

/* Hide tab content by default */
section > div {
    display: none;
}
/* Display the selected tab content */
section > div.selected {
    display: block;
}
JavaScript
JavaScript plays a crucial role. When a user clicks on any tab, we first check if the clicked tab is the one currently displayed. If not, we change their display state by toggling the selected class. Here’s the core code to implement this logic:
// Find the currently selected tab in the navigation.
const currentTab = document.querySelector('nav > .selected');

// Check if the clicked tab (referred to as 'nav' in this context) is already the selected one.
// If it is, do nothing to avoid unnecessary changes.
if (nav === currentTab) return;

// If not, remove the 'selected' class from the currently selected tab
// and add it to the clicked tab to highlight it as the new selection.
currentTab.classList.remove('selected');
nav.classList.add('selected');

// Retrieve all content sections.
const allTabContent = document.querySelectorAll('section > div');

// Loop through all content sections.
allTabContent.forEach((content, contentIndex) => {
    // Toggle the visibility of the content: hide the previously shown content
    // and show the content corresponding to the newly selected tab.
    // This is determined by matching the content index with the index of the clicked tab.
    if (content.classList.contains('selected') || contentIndex === index) {
        content.classList.toggle('selected');
    }
});
Conclusion
Through this simple project, I have learned a lot by combining HTML, CSS and JavaScript. I hope this tutorial helps you, and feel free to adjust the styles and functionality according to your needs.
Have Fun!